Thursday, September 30, 2010

Baby Gap

http://www.gap.com/browse/product.do?cid=6469&vid=1&pid=786717&scid=786717012

I was so delighted to find out that GAP is shipping to Hong Kong. Unfortunately there is no GAP shop in Hong Kong which I find a huge pity. But ordering online is possible and that's what I did!
So these lovely baby booties will hopefully soon arrive in Hong Kong. Since everything was discounted the shipping fee was bearable too. And have I mentioned that I got some stuff for me too? Hurry up Mr Postman we are waiting for you!

Saturday, September 25, 2010

French Macarons - Getting there


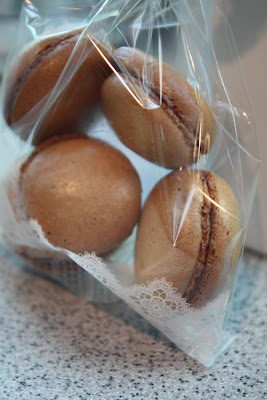
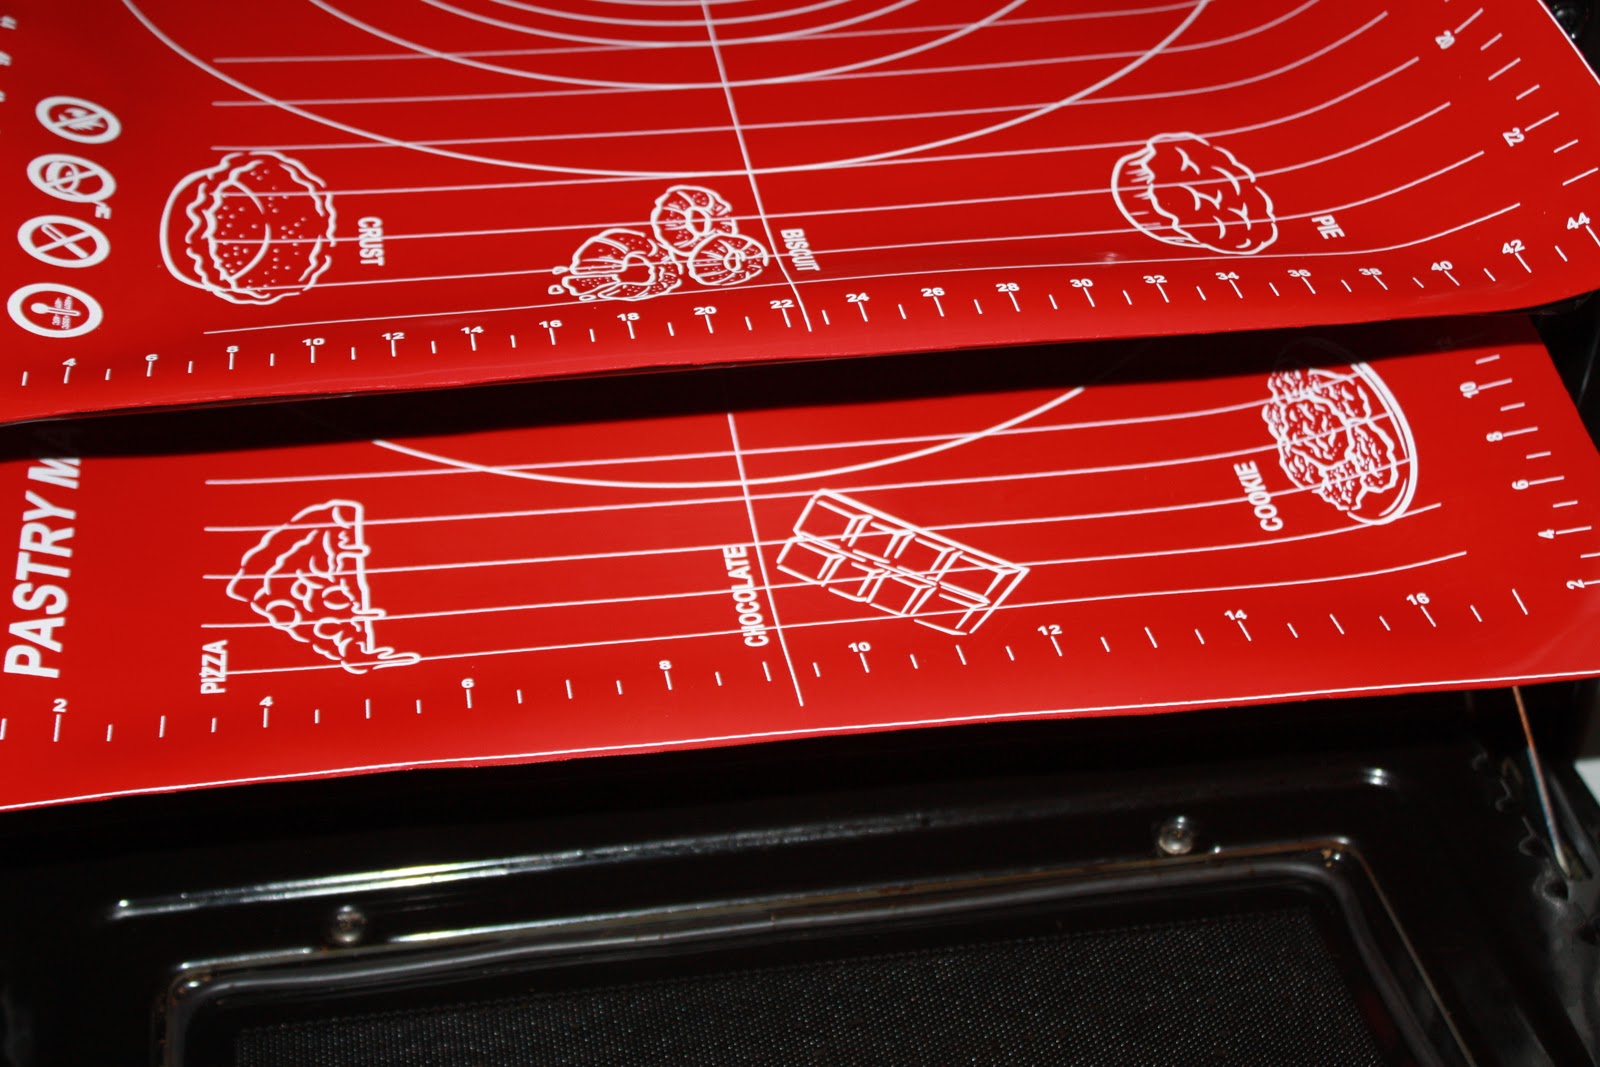
After several more trials of making French Macarons I have learned a lot about the technique and finally produced a few that really look like the real ones. The technique is all about assuring that the air bubbles inside the batter are fine. Once heated up to 180 degrees this air will expand. Since we want to establish the little foot at the bottom this air needs to make its way out of the cookie exactly there at the bottom. This can only be achieved if the bottom is less dry than the rest of the cookie. That's why you have to let the cookies dry before baking them at 180 degrees. I found out that it's best to dry them in the oven at around 80 degrees for 30-40 min. But if you use simple baking paper as I did in the beginning the bottom will dry as well and then you won't get the foot but only cracks all over the cookie. So the trick is to use a silicon baking mat. This works as a heat insulator thus the bottom will not dry as fast as the top. In addition the batter must be relatively runny. If it's too much like meringue then it will have too much air inside and lead to cracks too.

So here is my recipe:
2 egg whites
2 tablespoons of icing sugar
50 g crystal sugar
50 g very finely ground almonds
(liquid food colour if you want to make coloured macarons)

Beat the egg whites at the highest setting of your electric mixer with the icing sugar  until they hold their shape. Add the crystal sugar (and the food colour) using the lowest setting of the mixer. Afterwards add the almonds and mix them under also using the lowest setting of the mixer (the batter may become a bit runny but that's OK). Pour the mixture into a pastry bag with a large tip (standing the bag in a tall glass will help).


Line the baking tray with the silicon mat and use some butter to prevent the cookies from sticking on it. Pipe the batter in circles of 3 cm diameter making sure to leave enough space around each of them as they might run out.

Dry them in a non preheated oven at 80 degrees for 30-40 min. The surface needs to be dry when you touch it. Then heat the oven to 180 degrees. This will make the air inside the cookies expand. Bake for about 10-20 min until they are light brown.

You might need to experiment with the length of the drying and baking time depending on your oven.

I have used chocolate breakfast spread for the filling but jam will work too. Or you can make a filling using butter and cream.

Here are a few links for macarons recipes:
http://www.davidlebovitz.com/2005/10/french-chocolat/
http://www.essen-und-trinken.de/rezept/140091/macarons.html
http://www.puregourmandise.com/recettes/011.htm

Friday, September 17, 2010

We are holidaying in Hong Kong


This week we are enjoying ourselves in Hong Kong. Yesterday we spent the afternoon at the beach and I was able to read again while the little one was busy exploring her new travel cot/tent. So cool someone came up with this superlightweight (only 2.5 kg) travel cot that can be stored away in a relatively small bag. Plus it comes with UV protection so it's perfect for the beach as well.

Here is a link for the travel cot for those who are interested:

Thursday, September 9, 2010

What do a dress, tea towels and a baby sling have in common?


They were all made of the same fabric. Grey linen to be exact.

For the babysling I followed the instructions given by CraZeeCrafteeZ on Flickr:
http://www.flickr.com/photos/manueb/2262711437/in/set-72157603905311287/
It's very simple to make and you can find instructions for the tying methods on the Didymos site:
http://www.didymos.com/index.php?s=tying_methods&t=tying methods

The tea towels are just rectangular pieces of fabric, take an old tea towel for the right size and then add 2 cm seam allowance. I used fabric markers for the little hen pattern.

For the baby dress you can use the following pattern (print it on A4 size, makes a size 68):


Start with the upper front pieces. Turn the fabric inside out (the upper front pieces will consist of a double layer of fabric) and close the top seam. Then turn it back to the right side again. Stitch the top and middle seam small along the edges. Use the zick zack stitch for the bottom and side. Unfold the front bottom piece and use the zick zack stitch for the top and the sides. Stitch the upper pieces to the bottom piece. The wider upper piece should come underneath the narrower one. Now unfold the back piece and zick zack the sides. Make the top seam by folding 1 cm down and then folding it another time, stitch it small around the edges. Now use the rectangular fabric pieces (bias tape) and stitch them to the armholes so that the middle part will form small straps. Fold 1 cm inside at both sides and then fold it in the middle and stitch it small around the edges. Pin the front and the back piece together at the sides and close the seams. Close the bottom seam of the dress by folding 1 cm inside and then folding it another time. Stitch it again small around the edges. Make two little button holes in the front and sew two small buttons to it. Pin the bunny to the front of the dress and applique it using a small and narrow zick zack stitch. Done.

Friday, September 3, 2010

Champagne and Caviar


I had to take a photo of it. This is what is currently in our fridge: Champagne and Caviar. We are celebrating our 6th wedding anniversary tonight. To be honest today is not the exact date. We both forgot it on the real date (thank God both of us forgot it not only me) and we therefore decided to celebrate it tonight instead. Just need to go out and get a fresh baguette...

Wednesday, September 1, 2010

IKEA Tree Decoration on Flickr


I love these little IKEA trees. These are two examples how I used them in my home. The cup holder idea came from a Dutch interior magazine but I can't remember which one. The other one sits in my daughter's room and showcases her bonnets and some cute toys.
The other day I was checking on Flickr and look what other people came up with for this little tree! Really awesome! Check out my gallery for all the photos and their photographers:

Related Posts with Thumbnails